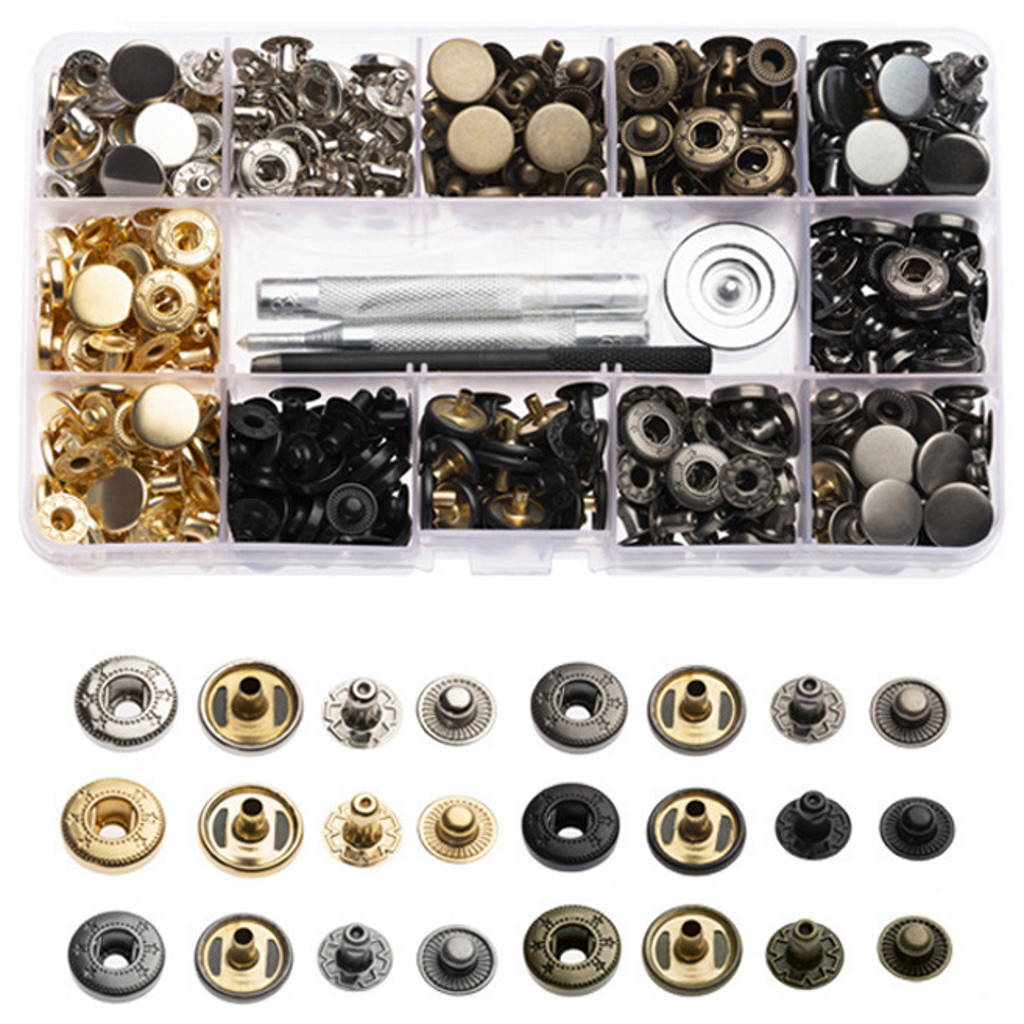
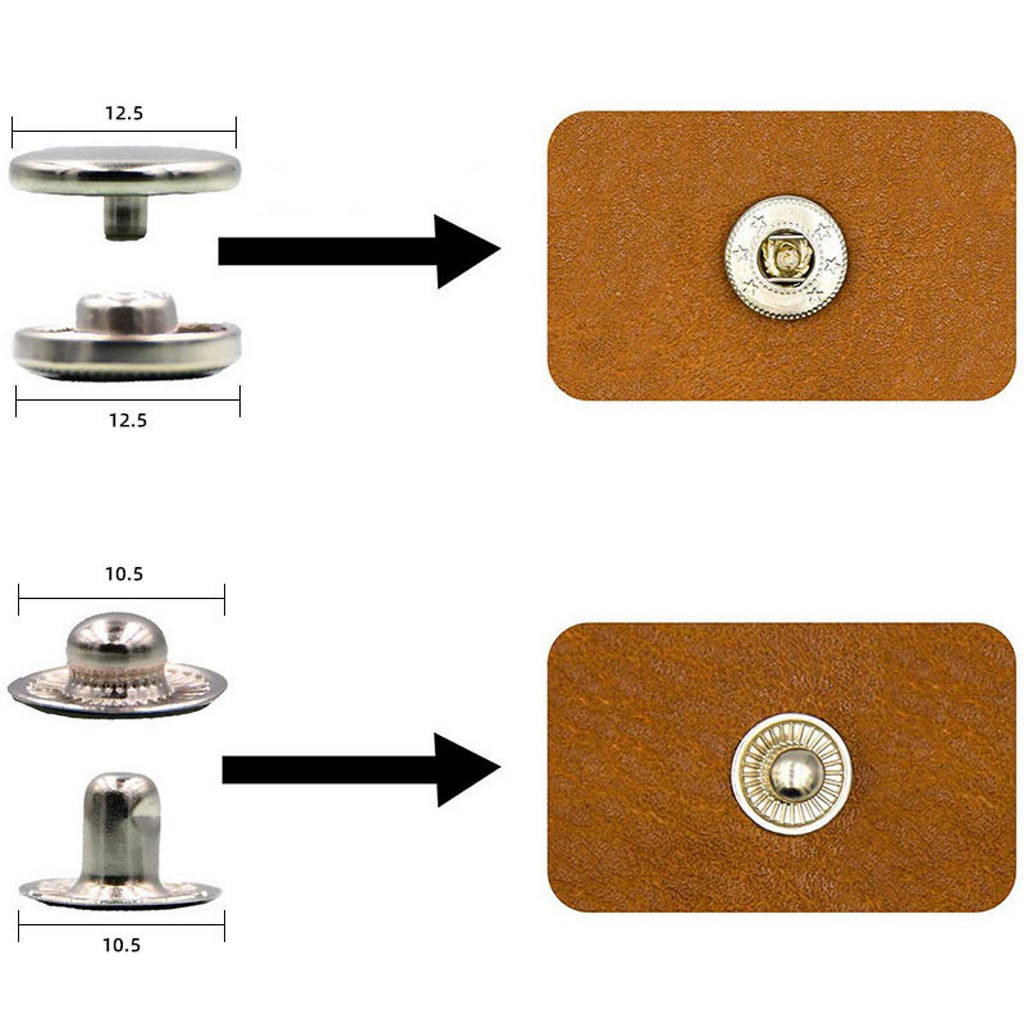
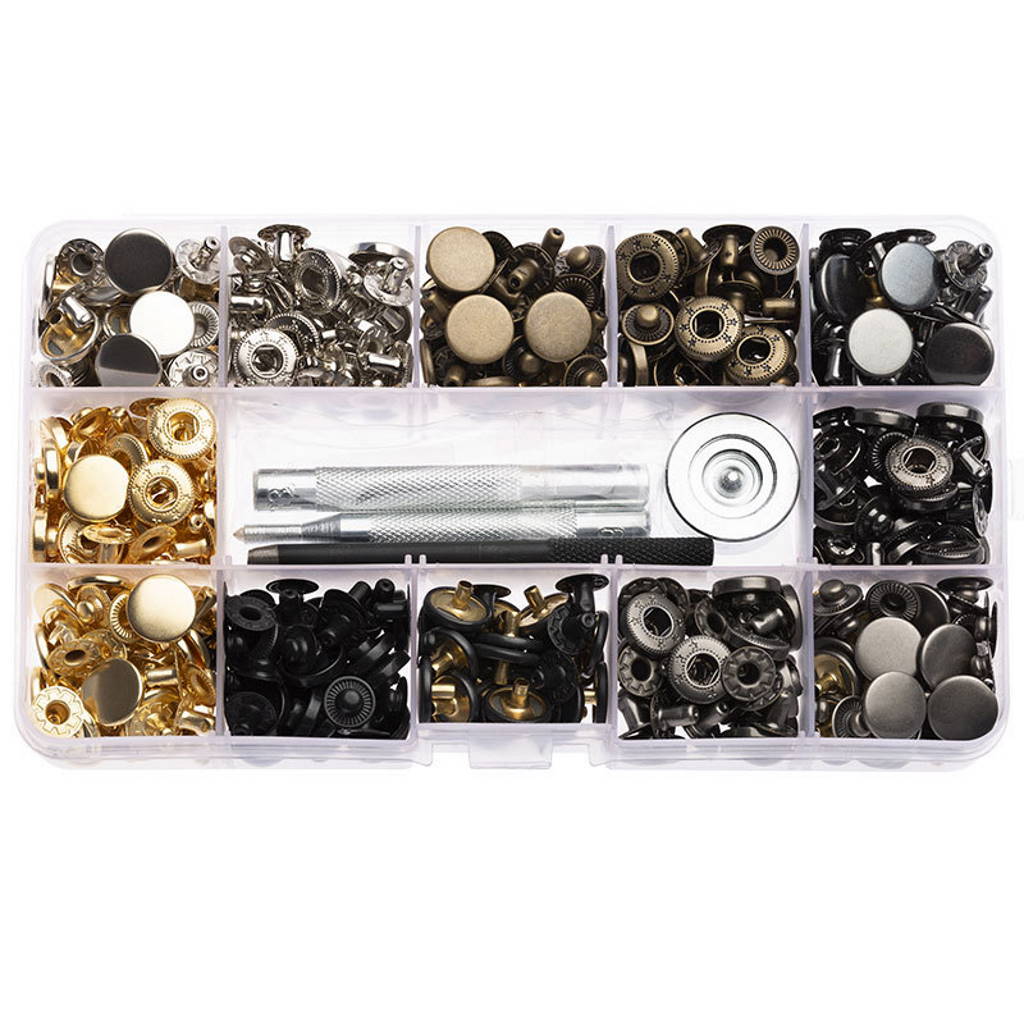
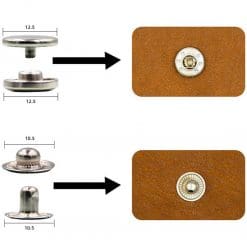
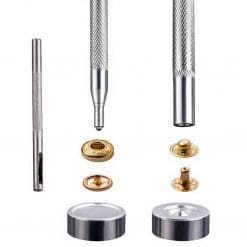
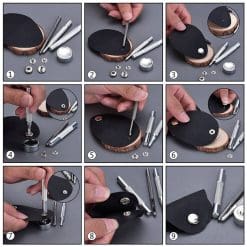
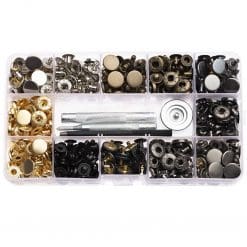
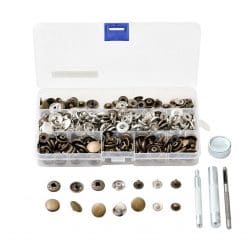
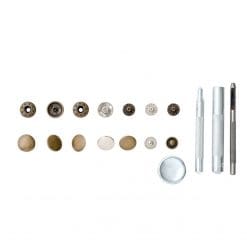
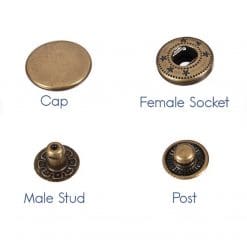
120 sets of snap button fasteners in 4 colours in gold, silver, bronze and gunmetal.
Snap button fasteners, also called press studs or S spring press studs, are popularly used in tailoring and leather crafting. Made from Metal, these snap poppers are strong, rustproof and can withstand regular wear and tear. The Double Action S-springs inside these snaps allow for a very smooth opening and closing. These fasteners come with caps of various colours, so the colour of the cap can be matched or contrasted with that of the fabric or leather. Snap button fasteners are used for a variety of purposes, such as bags, purses, clutches, jackets, leather craft, and several DIY projects. Perfect if you have a favourite clothing item where the original stud has fallen out. Works well with both stretch and none stretch fabrics.
Comes in a set of 4 parts:
- Part A – Cap for fixing socket
- Part B – Socket (female part of press stud)
- Part C – Stud (male part of press stud)
- Part D – Post for fixing stud
Contains 4 hand tools
- 1 Setter base
- 1 Hollow punch (M25)
- 2 Installation tools (633)
How to use
If you are using this kit to repair an existing piece of clothing, you can skip step one if the existing hole is still useable for the snap button fasteners.
- Use the hollow punch to make a hole in the fabric in the place you want to fit your popper stud; you do this by using a mallet or hammer to drive the hollow punch through the material. Do this on both sides of the material you want to connect together, so make two holes. Top Tip: Take a little bit of time to check your material lines up as you want and make a mark with a pen.
- Place the male stud onto the setter base on the indented side and thread your material over the post.
- Place the post over the thread and material, then take the installation tool with the flat top and bevelled centre and hammer the pieces together to create a fixture. Pull on the post to see if it is secure, if not hit it again till it will not come off.
- Flip over the setter base to the flat side. Place the cap onto the flat side of the setter base.
- Place the other side of the material over the caps post and place the female socket over the top.
- Use the installation tool that looks like a point inside the female connectors opening.
- Hammer into place until secure.
- You have now fully installed your snap button!
Reviews
There are no reviews yet.